If you’re a radio station, Cleanfeed Pro is an excellent way to send live audio back to your studio from an outside broadcast at a remote location.
This sort of thing that would, in the past, need expensive ISDN lines or other specialist radio equipment. Now with Cleanfeed Pro it’s easy and economical to get a full quality stereo link back to your studio from anywhere with an Internet connection, and even two-way when you need it.
Now you can focus on the show; it could be a music event broadcast live on the radio, or host a discussion at a local cafe or bar with listener interaction. Let your creativity drive you, just follow our guide.
Using the Google Chrome browser, sign in to your Cleanfeed Pro account.
If this is the first time you’ve logged in to Cleanfeed, you’ll be asked to give us permission to use your audio device. Cleanfeed won’t work without that, so you should Allow access.
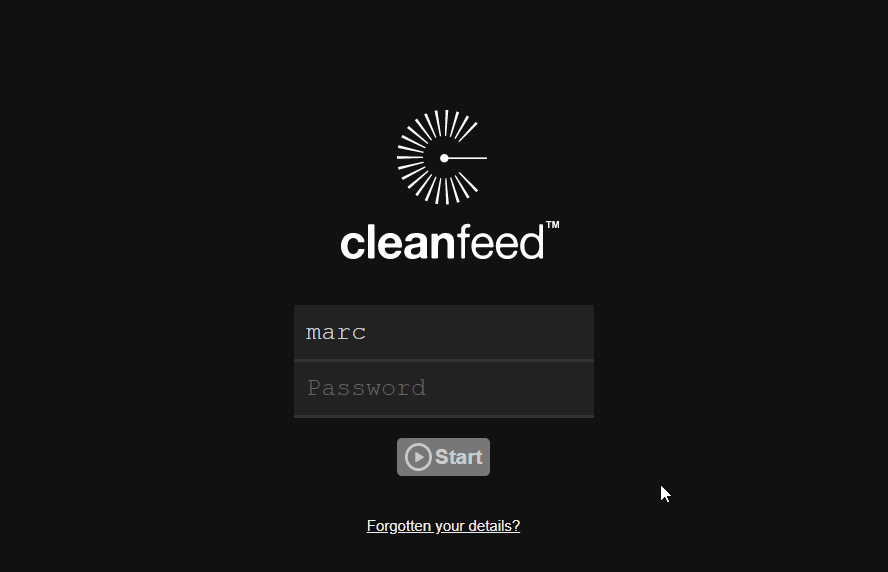
Having trouble signing in? Your login name is the one you chose at sign up, not your email address.
From the main Cleanfeed studio screen, press the Gear icon at the right side of the grey row showing your name. From the drop-down menu listing available devices, select your microphone or audio interface. You can also tell Cleanfeed how to take audio from that device. Normally for this use case it should be set to Stereo to capture left and right stereo from the device, but you might want to explore the other options.
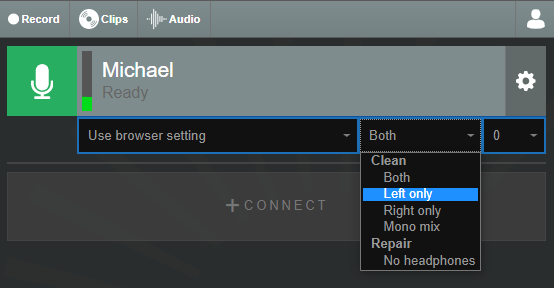
If you don’t see your hardware in the list, wait a moment and then try the menu again. If it’s a USB device, sometimes it will take a moment before the device is available to your browser.
We’re going to set up our remote audio specifically for the type of programme content.
Press the Audio button at the top of the main Cleanfeed screen. Then, from the Remote audio quality drop-down menu choose one of the following:
The high performance settings are chosen these use a larger bitrate which can help where audio will later undergo heavy processing (such as multiband compression) and re-encoding. However the Optimised settings are also very effective in more constrained network conditions as they transfer far fewer packets.

For a typical outside broadcast (especially if audio is going in one direction) it can be useful to add some extra resilliance.
This is useful where a network may not be very consistent. For example, 4G internet or satellite broadband like Starlink. Additional buffering can be used to smooth out audio which could be lost otherwise.
For this you can use the Buffers feature from the Audio screen.
A buffer is additional latency. Normally Cleanfeed works to keep latencies low, preferring to have small buffers for real-time two-way communication. But choosing a large buffer gives extra time to "try again" behind the scenes when certain types of network issues occur.
When you apply the buffer it’s an indication that you’re choosing to compromise low latency for stability. That’s why we recommend a fairly large value to begin with, providing an insurance for a difficult or unruly network connection. You can tune this latency down if necessary, with lower values getting closer to a regular Cleanfeed connection.
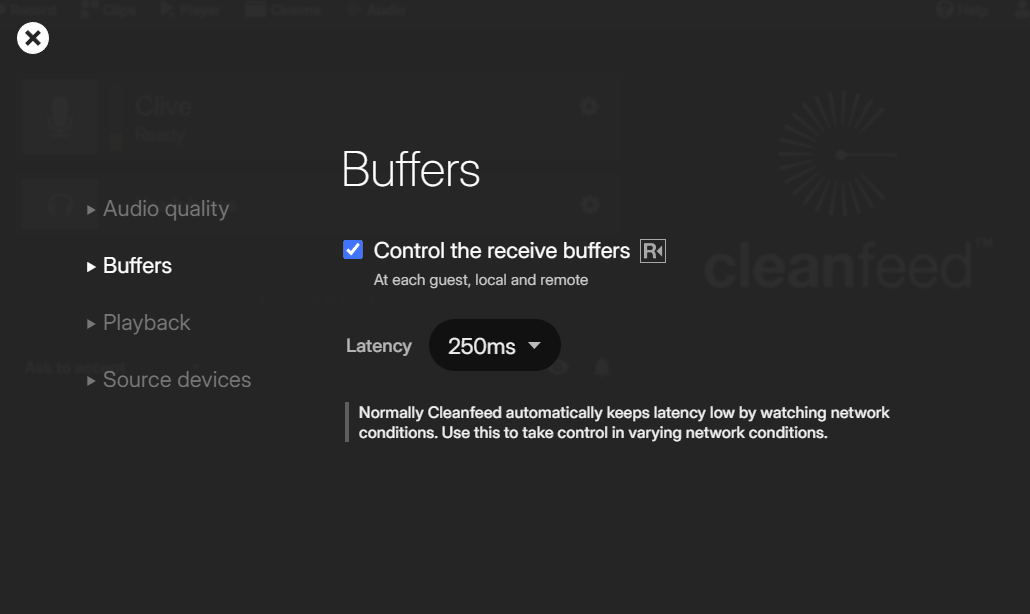
Now, with a latency set, you can control which guest connection to enable buffers on:
Once enabled you will see the latency build up slowly to the amount specified. If you are still hearing artefacts and audio dropout from the remote side, then it is necessary to increase the amount of latency in order to smooth out these issues.
Enabling latency can also be done from the guest side, if they have trouble hearing the studio. Expanding the settings for the studio and enable ‘R’ in a similar way.
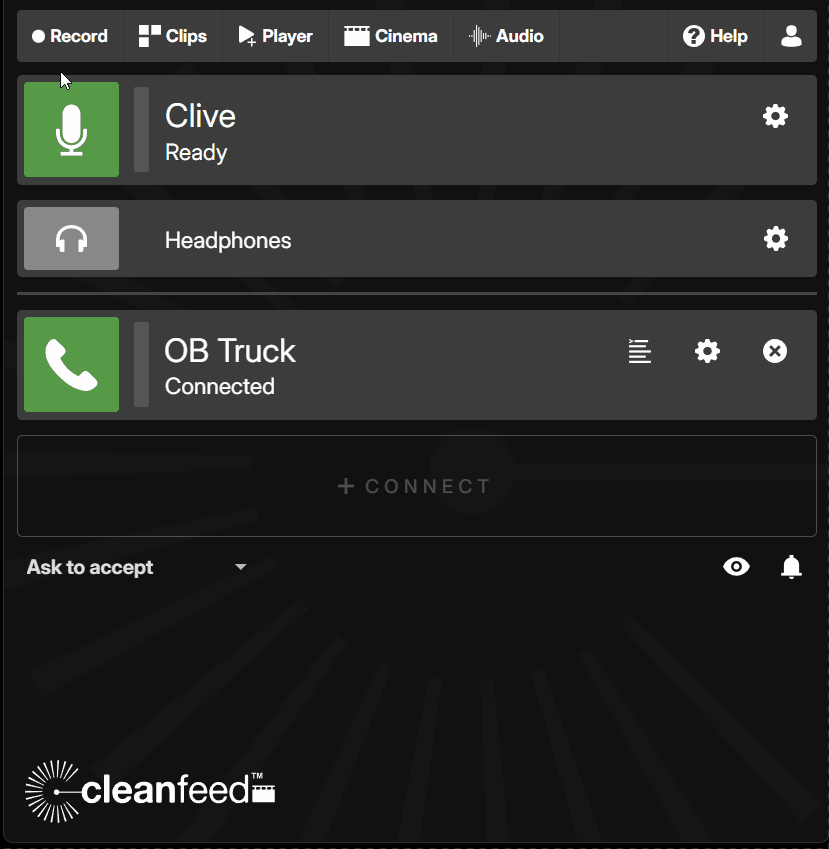
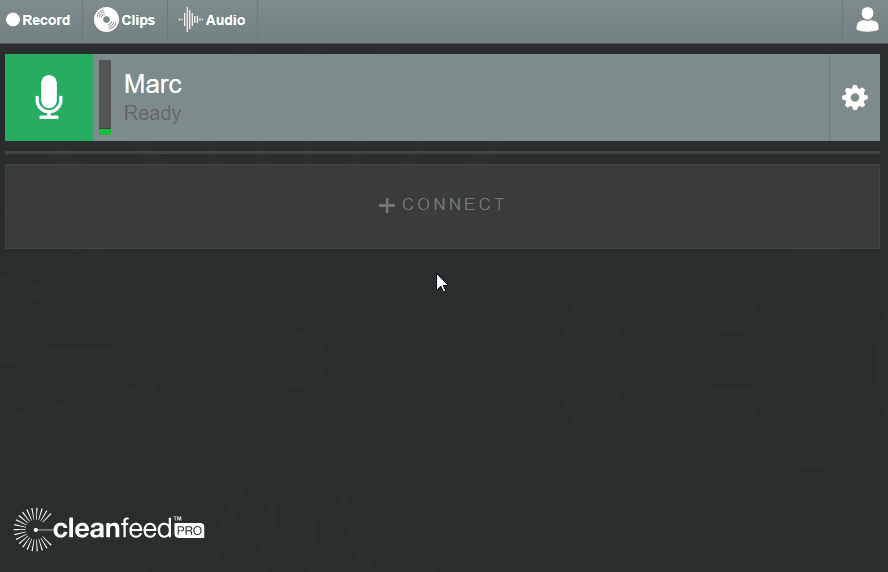
To the right of the green and white Microphone icon , and to the left of your name, is a small vertical audio meter.
This meter is a visual indication of the level of audio coming from your side of the link. Too high, and the meter will show red. Too low, and you will only see green on the meter. For best results, make sure your microphone level peaks in the yellow area of the meter, between green and red.
If the input level on the meter is not touching the yellow area, you can adjust the input level. For the best sound quality, and to avoid hissing or ‘noise’, turn up the dial on the microphone or audio interface before boosting the level using the computer. Consult the instructions from the device manufacturer for more details.
Now your audio is set up, you’ll need to create a web link for the studio to pick up your outside broadcast.
Press the large grey +CONNECT button in the middle of the main screen, which will open a pop-up window. Press the Share button. Enter the email address of your studio, and then press the Invite button.
The studio should receive an invitation to their email address, looking like the example below. All that they need to do is press the green Connect button to open the link in Google Chrome and pick up your live feed.

Once connected, you’ll see a new row in the main Cleanfeed studio screen with a green and white Telephone icon and the name of your contact at the studio. The studio’s audio meter for the return channel, if they are using a two-way link, will be shown on this row of the studio screen, too. Each row also functions as means to mute, or unmute the remote when you press it.
You can repeat this process to invite additional studios to join the session.
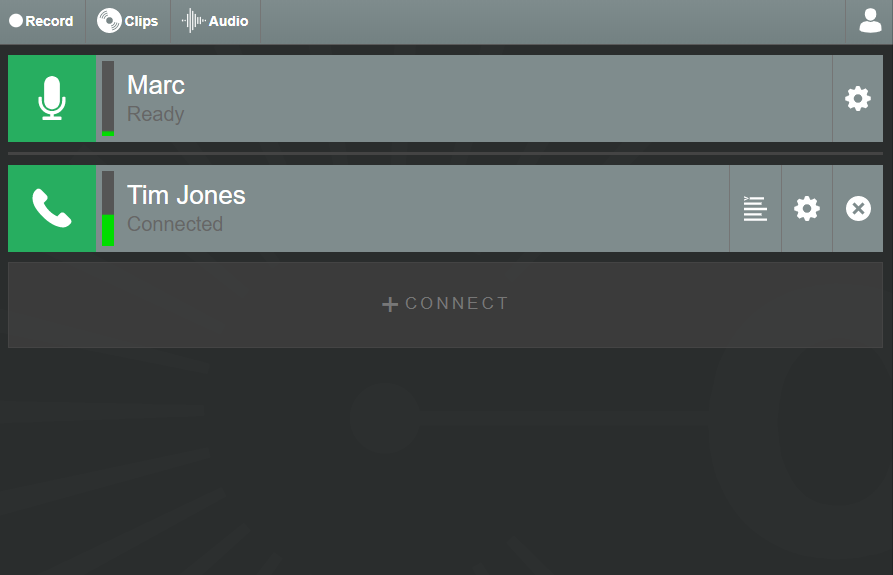
The remote studios don’t need a Cleanfeed Pro account. Their +CONNECT button has just one purpose — connecting them to your session.
You’ve just made a live outside broadcast with Cleanfeed! If a remote studio can’t hear you, or you can’t hear the return channel, check out our guide When someone can’t hear.